Crafting Tip: Using Glad Wrap with Cookie Cutters to Prevent Clay from Sticking
Are you tired of your pottery clay sticking to your cookie cutters, causing frustration and wasting precious crafting time? Fear not! There’s a simple solution

Glazing can often make or ruin a piece. Many times I’ve asked myself should I bother glazing this or just throw it in the garbage because I never knew how things would turn out.
I’m now more familiar with my glazes and have found some styles of glazing I really like and I have less disasters.
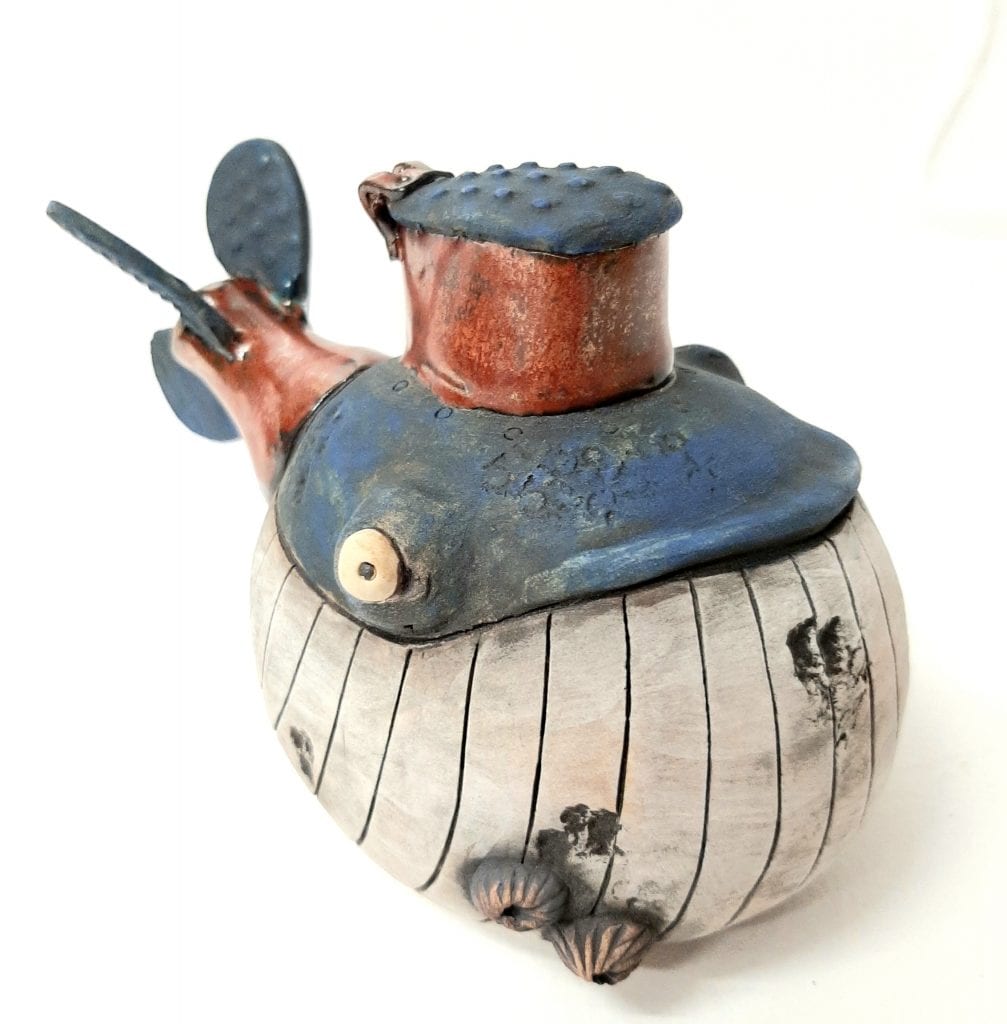
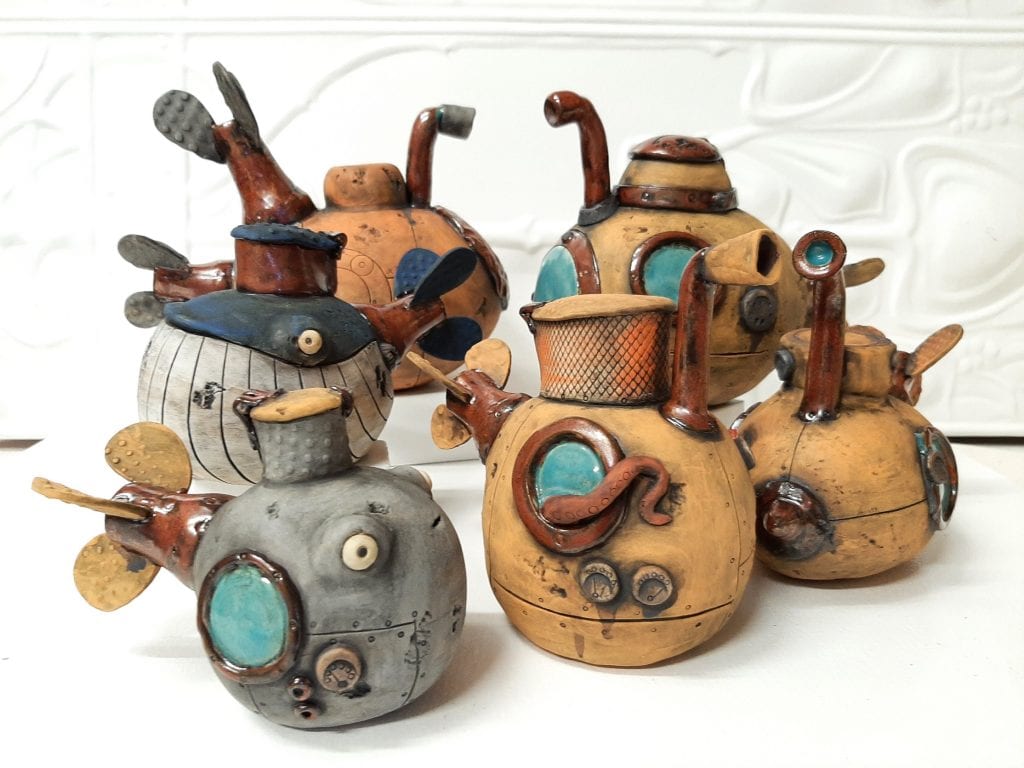
When I’m glazing my submarines I like to make them look like they’ve done some work. They look much more interesting if the finish looks like they have been out in the weather rusting or have many dents and chips.
STEP 1
Make your work and think about creating texture. If you’re adding grime and dirt with glaze you need somewhere for it to attach itself to. Think about everyday objects, the places where dirt builds up will be the same on your sculpture.
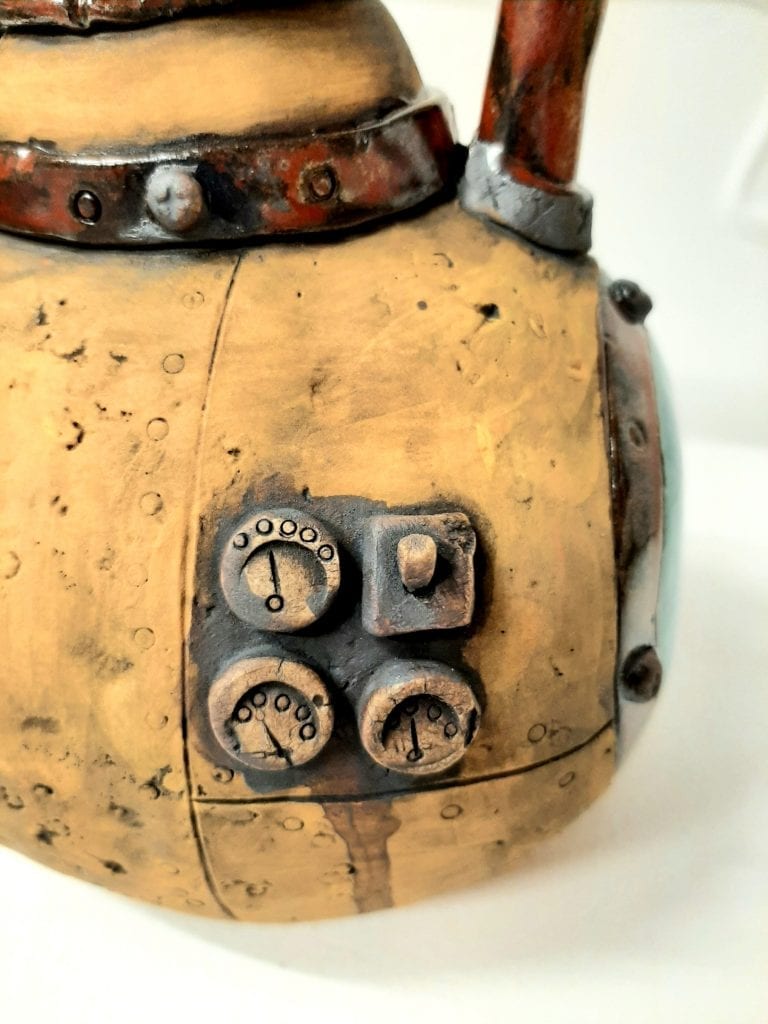
I have used incised lines, indents from a chunk of broken brick, a piece of coral, an old watch face and many other found objects to create dents, dials and texture to help with the aged appearance.
Step 2
I use speedball underglaze you can find details here http://www.speedballart.com . Any underglazes will do. I prefer speedball because they are good value for money, have fantastic pinks, don’t stick to my kiln shelves and my favourite ceramic artists on Instagram use them so I get to see their tests and results.
I bisque my work before I apply my underglaze. You can paint underglaze on during the green ware stage but because I sometimes have subtle texture I don’t want the wet underglaze to damage my details.
Once I have bisqued my work I paint in the areas i want coloured with underglaze.

This small submarine has underglaze applied ready for a second bisque firing.
Once I have added my underglaze colour to my work I bisque them again. This sets the underglaze so when I add a wash over them it doesn’t rub the colour off.
Step 3
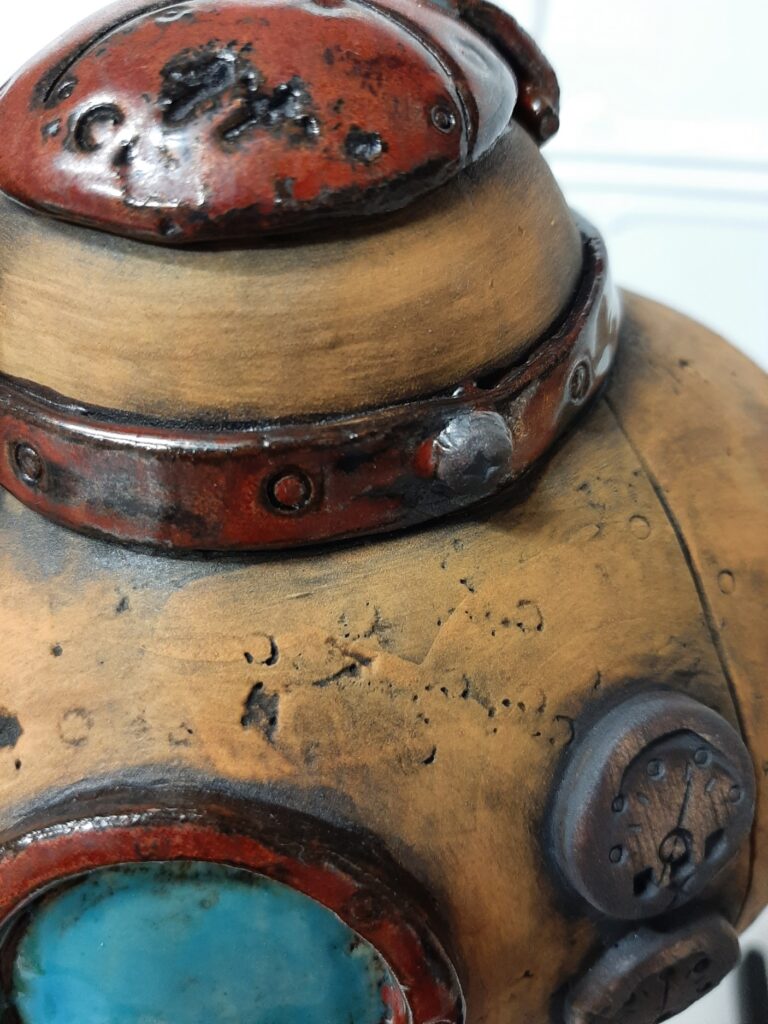
When the work has been through the second bisque I make up a wash of a small amount of black and brown underglaze diluted in water. This needs to be very watery. it should look like weak tea. You can always add more but if it goes on too dark, it can be hard to wash off. I then wash over my work with the watery dirty brown layer, focusing on the texture and joined areas where I want it to stand out.
Once I feel happy with the application I take some clean water and a sponge and wipe back the stain so the high points are cleaner and the stain remains in the texture. If you remove too much stain it’s easy to re-apply where you need it.
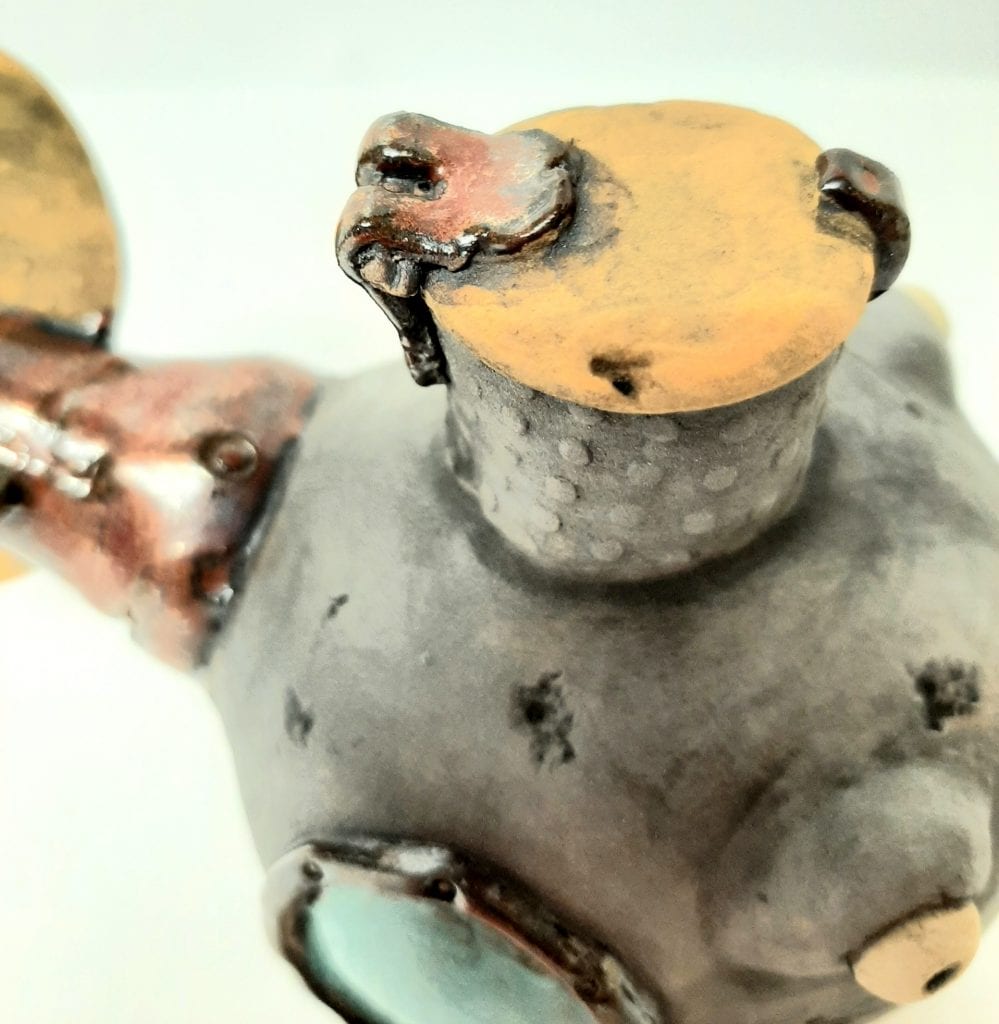
It’s at this stage I add any other detail glazes or oxides. On my submarines I add red iron oxide to instrument panels, bolts and other joins. I try to make it run a little as if its a rust stain.
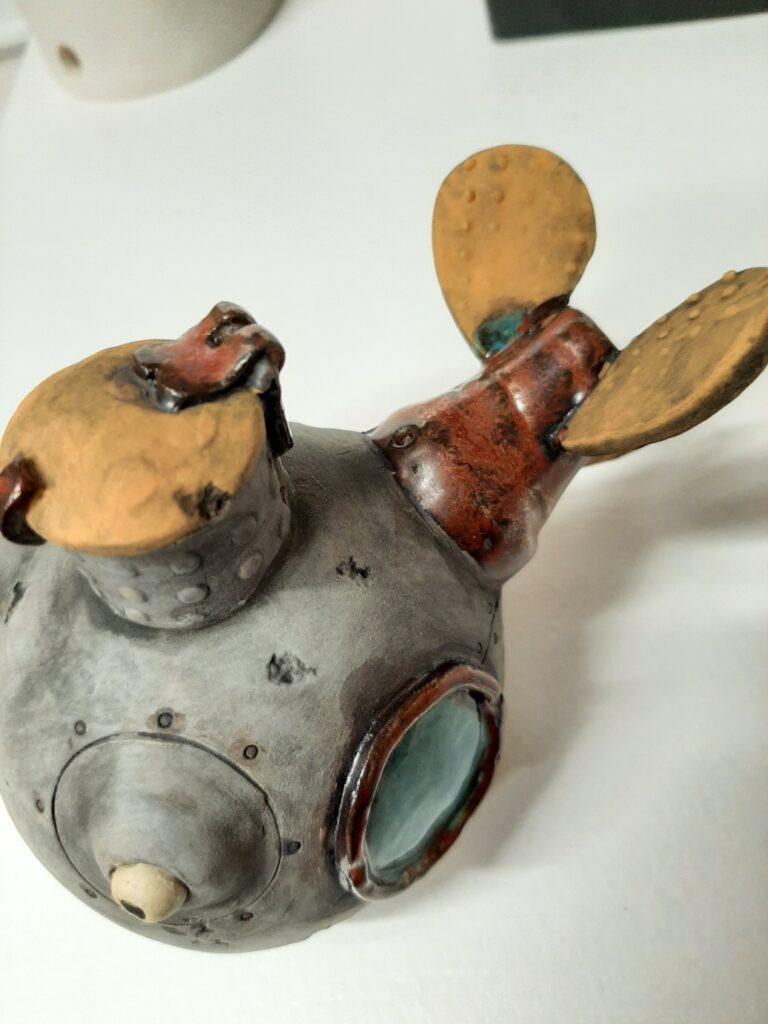
Lastly I’ve added ancient copper glaze from http://www.amaco.com to propellers, window surrounds and hinges. The gloss glaze with its lovely crystals is a nice contrast to the matte underglaze.
In the photo below you can see I’ve added a touch of gloss blue glaze to the propeller fin. When copper oxidises it goes bluish green so adding the blue is just another little detail to show ageing.
Then they are ready for the glaze firing and done.
Happy glazing ….. Janelle
Are you tired of your pottery clay sticking to your cookie cutters, causing frustration and wasting precious crafting time? Fear not! There’s a simple solution

Josiah Mcmeekin Albany Advertiser Thursday 29 February 2024 9.00 am https://www.albanyadvertiser.com.au/news/regional/the-story-behind-albany-ceramicist-janelle-petersons-scuptures-c-13736436?utm_campaign=share-icons&utm_source=clipboard&utm_medium=clipboard&tid=1709177941197

A Guide to Using Silicon Molds with Clay Silicon molds provide a versatile tool for creating detailed designs and replicating intricate shapes with ease. In