
The Ceramic School Workshops
Discovering The Ceramic School: A New Journey Begins I am thrilled to announce that I am now an affiliate of The Ceramic School! You can
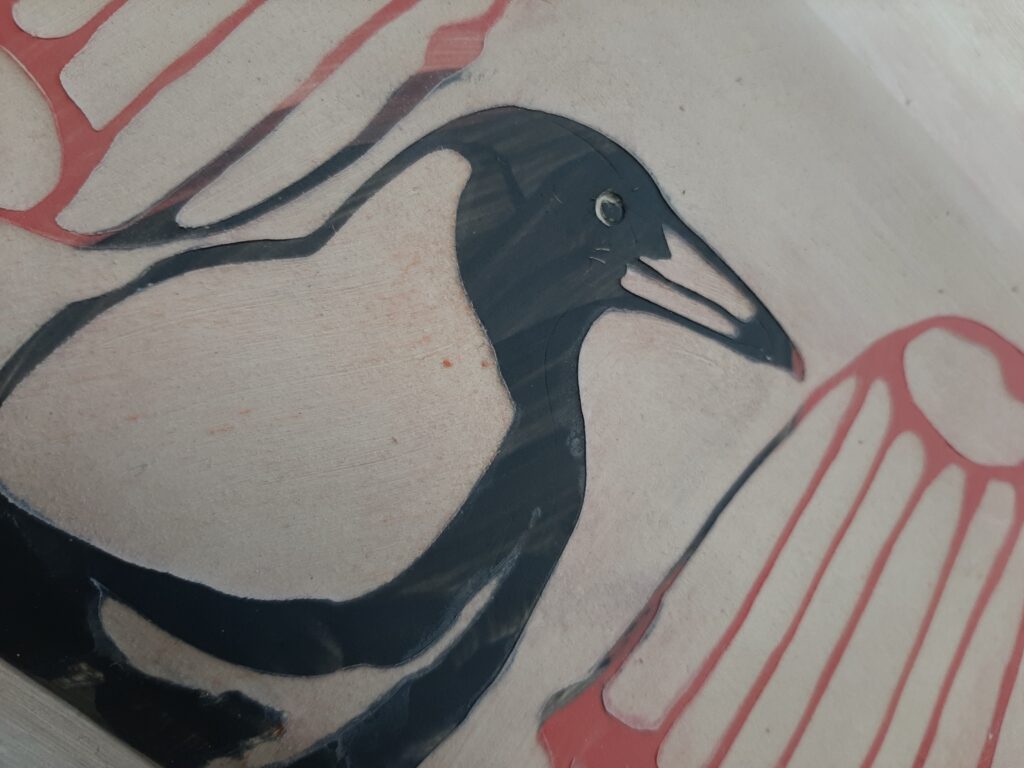
Water etching with stencils is a technique used in ceramics to create intricate designs or patterns on pottery or ceramics. Here’s a step-by-step guide on how to water etch with stencils for ceramics:

Materials You’ll Need:
Steps:
Create Your Stencil: Begin by designing or drawing your desired pattern on a piece of paper. Keep in mind that the design will be transferred to the ceramic piece, so make sure it’s the right size and shape. If you’re not confident in your drawing abilities, you can also use pre-made stencils or print designs from the internet.
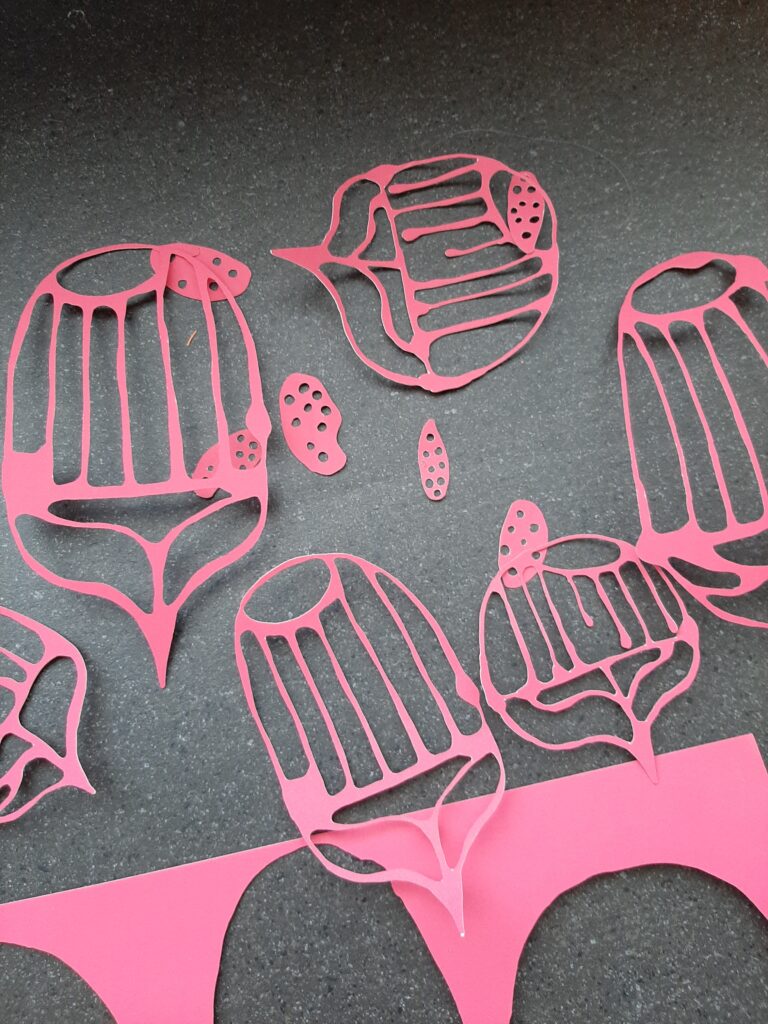
Cut Out the Stencil: Carefully cut out the design from your paper stencil using scissors. Make sure the edges are clean and precise. I use my cricut to cut out my designs.
Apply underglaze: put a layer of underglaze over your clay. Keep in mind what colours and where depending on your images.
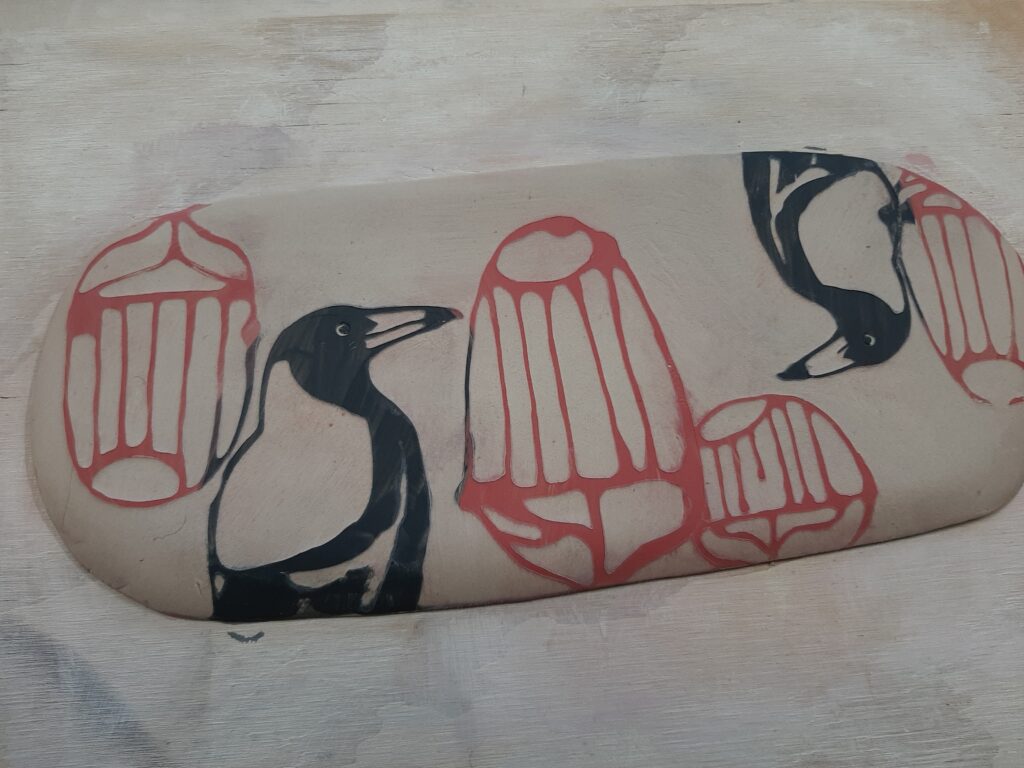
Place the stencil: Place the paper stencil onto the ceramic piece in the desired location. Apply light pressure to avoid damaging the stencil or the ceramic. Sometimes you can use a rolling pin to make the stencil stick or if its paper dampen it. I find once i carefully start sponging my card stencils stick.
Wipe Away Excess Underglaze: After applying the stencils, use a damp sponge or cloth to gently wipe away any excess underglaze from the etched area. Be careful not to wipe too hard and move your stencil.
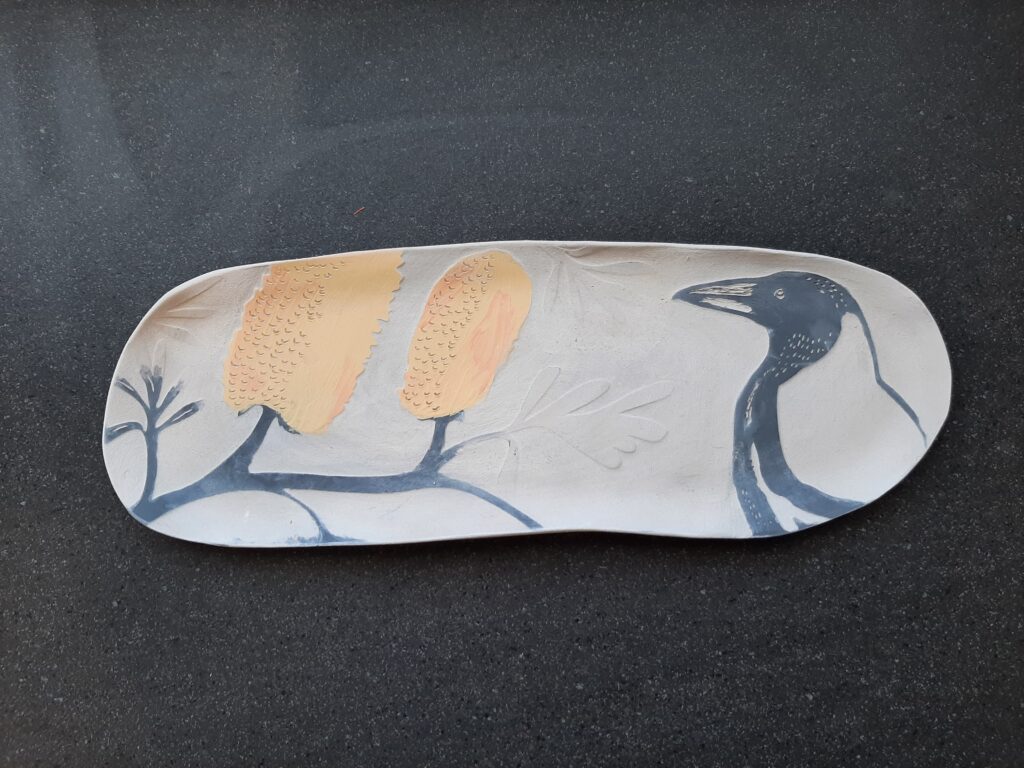
Peel stencils off: Gently peel up your stencils if they are card they can be used multiple times.
Remember that water etching with paper stencils can be a delicate process, so take your time and practice on some test pieces before attempting it on your final project.
janelle

Discovering The Ceramic School: A New Journey Begins I am thrilled to announce that I am now an affiliate of The Ceramic School! You can
Are you tired of your pottery clay sticking to your cookie cutters, causing frustration and wasting precious crafting time? Fear not! There’s a simple solution

Josiah Mcmeekin Albany Advertiser Thursday 29 February 2024 9.00 am https://www.albanyadvertiser.com.au/news/regional/the-story-behind-albany-ceramicist-janelle-petersons-scuptures-c-13736436?utm_campaign=share-icons&utm_source=clipboard&utm_medium=clipboard&tid=1709177941197